
2023年最後の投稿です。
NSX-TはREST APIが提供されており、シンプルにPythonのrequestsでGET/PUTでAPI操作する事も可能ですが、OpenAPIも提供されています。
今回swagger-codegenを使ってSDKを自動生成し、SDKからAPIを実行してみました。
NSX-TのOpenAPIの取得
NSX-T APIのOpenAPIは以下のNSX-T ManagerのURLから取得する事が可能です。swagger-codegenでOpenAPIのjsonからSDKを生成するので、以下のコマンドでNSX-T Managerから取得します。
curl -k -u "$USER:$PASSWORD" "https://$NSX_IPADDR/api/v1/spec/openapi/nsx_api.json" | jq > /tmp/nsx.json
またはVMware DeveloperからNSX-Tの各バージョンごとのOpenAPIのjsonファイルをダウンロードする事も可能です。
swagger-codegenからSDKの生成
swagger-codegenからSDKを生成してみます。
ちなみにNSX-TのOpenAPIはversion 2.0 であるため、swagger-codegenも2.xをダウンロードします。
# cat /tmp/nsx.json | jq .swagger
"2.0"
私はJavaが動作するWindows環境で以下コマンドでNSX-TのOpenAPIからPython SDKの生成が出来ました。
# -i でNSX-T OpenAPIのjsonを指定。-oでSDK出力先ディレクトリ指定
java -jar .\swagger-codegen-cli-2.4.38.jar generate -i .\nsx.json  --lang python -o .\sdk\
--lang で対応するプログラミング言語のSDKを生成する事が出来るのですが、恐らくこちらの言語の指定が可能だと思います。(少なくともPowershellでSDKの生成は出来ました。)
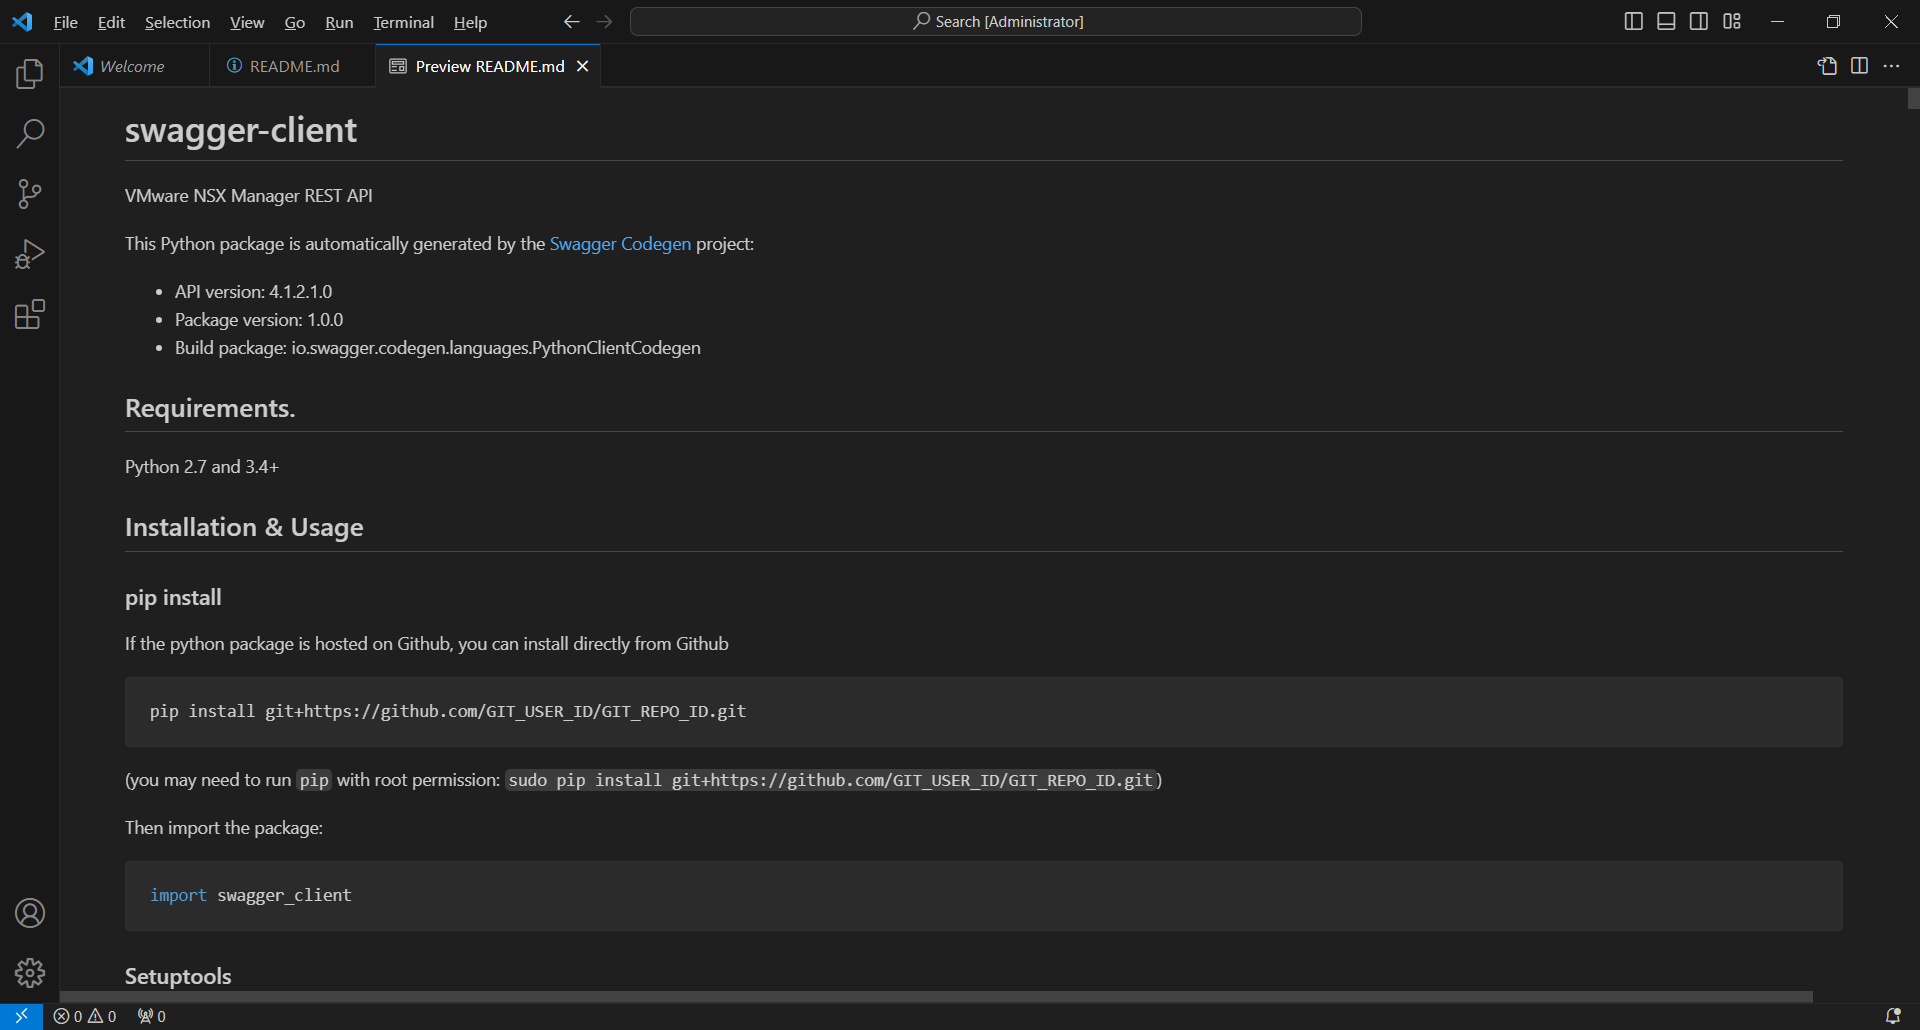
実行するとソースコード、READMEやDoc含めたPython SDKが生成出来ました。
自動生成したSDKのディレクトリに移動し、setup.pyがあるので以下の通りインストールします。
cd sdk
# python3.9 setup.py install
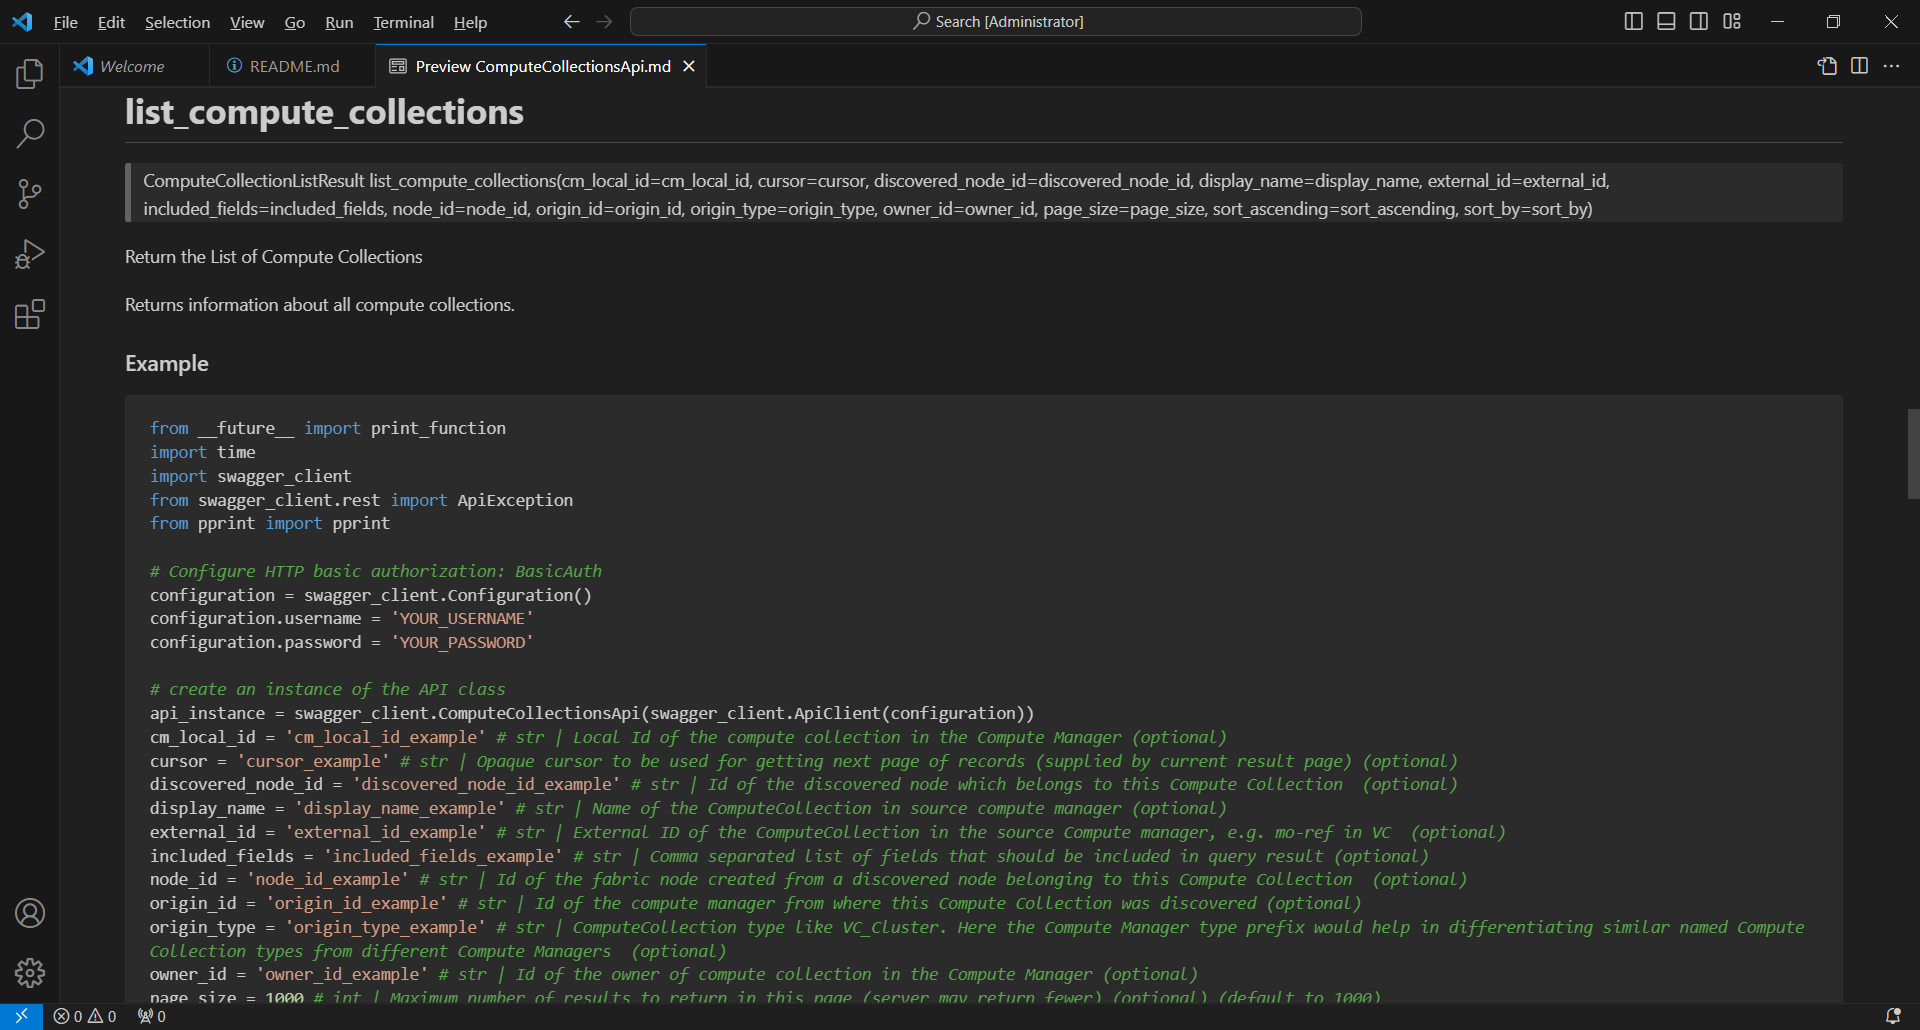
また自動生成したSDKのディレクトリにはREADME.mdがあり、各APIに対応した関数、パラメータ、Exampleなどが参照出来ます。
さっそくExampleのコードを実行してみる
自動生成したSDKもインストール出来たので、さっそくNSX-T ManagerにAPIリクエストしてみます。
※実際にSDKを実行している環境はWindowsではなく、FreeBSD環境です。
試しにNSXとvCenterを紐づける、コンピュートマネージャの一覧を取得するAPIlist_compute_collections()をExampleを元に実行してみます。
root@:/tmp/sdk # python3.9 list_compute_collections.py
Traceback (most recent call last):
  File "/tmp/sdk/list_compute_collections.py", line 3, in <module>
    import swagger_client
  File "/tmp/sdk/swagger_client/__init__.py", line 18, in <module>
    from swagger_client.api.api_request_batching_api import APIRequestBatchingApi
  File "/tmp/sdk/swagger_client/api/__init__.py", line 6, in <module>
    from swagger_client.api.api_request_batching_api import APIRequestBatchingApi
  File "/tmp/sdk/swagger_client/api/api_request_batching_api.py", line 20, in <module>
    from swagger_client.api_client import ApiClient
  File "/tmp/sdk/swagger_client/api_client.py", line 26, in <module>
    import swagger_client.models
  File "/tmp/sdk/swagger_client/models/__init__.py", line 547, in <module>
    from swagger_client.models.ip_info import IPInfo
ImportError: cannot import name 'IPInfo' from 'swagger_client.models.ip_info' (/tmp/sdk/swagger_client/models/ip_info.py)
だめですね😅
恐らくOpenAPIの定義の問題だと思いますが、以下の修正を行う事で実行出来ました。
--- NSX-T-python-SDK/swagger_client/__init__.py 2023-12-31 21:15:00.000000000 +0900
+++ sdk/swagger_client/__init__.py      2023-12-31 23:25:24.779990000 +0900
@@ -779,7 +779,7 @@
 from swagger_client.models.ip_address_element import IPAddressElement
 from swagger_client.models.ip_address_element_list_result import IPAddressElementListResult
 from swagger_client.models.ip_addresses import IPAddresses
-from swagger_client.models.ip_info import IPInfo
+from swagger_client.models.ip_info import IpInfo
 from swagger_client.models.ip_mirror_destination import IPMirrorDestination
 from swagger_client.models.ip_prefix_list import IPPrefixList
 from swagger_client.models.ip_prefix_list_list_result import IPPrefixListListResult
--- NSX-T-python-SDK/swagger_client/models/__init__.py  2023-12-31 21:15:00.000000000 +0900
+++ sdk/swagger_client/models/__init__.py       2023-12-31 23:23:44.268873000 +0900
@@ -544,7 +544,7 @@
 from swagger_client.models.ip_address_element import IPAddressElement
 from swagger_client.models.ip_address_element_list_result import IPAddressElementListResult
 from swagger_client.models.ip_addresses import IPAddresses
-from swagger_client.models.ip_info import IPInfo
+from swagger_client.models.ip_info import IpInfo
 from swagger_client.models.ip_mirror_destination import IPMirrorDestination
 from swagger_client.models.ip_prefix_list import IPPrefixList
 from swagger_client.models.ip_prefix_list_list_result import IPPrefixListListResult
またスクリプトもExampleから以下の様に修正しました。
root@:/tmp/sdk # cat list_compute_collections.py
from __future__ import print_function
import time
import swagger_client
from swagger_client.rest import ApiException
from pprint import pprint

# Configure HTTP basic authorization: BasicAuth
configuration = swagger_client.Configuration()
configuration.host = 'https://192.0.2.100/api/v1'
configuration.username = 'admin'
configuration.password = 'PASSWORD'
configuration.verify_ssl = False

# create an instance of the API class
api_instance = swagger_client.ComputeCollectionsApi(swagger_client.ApiClient(configuration))
try:
    api_response = api_instance.list_compute_collections()
    pprint(api_response)
except ApiException as e:
    print("Exception when calling ComputeCollectionsApi->list_compute_collections: %s\n" % e)
ポイントはswagger_client/configuration.pyで定義されているhostをNSX-T ManagerのURLを指定し、verify_ssl=Falseを指定する事で、サーバー証明書の検証を無視することが出来ます。
今回vCenterに紐づけていないNSX-T Managerへのリクエストのため、空で返ってきていますが、設定済みであればちゃんと設定値が取得出来ます。
root@:/tmp/sdk # python3.9 list_compute_collections.py
/usr/local/lib/python3.9/site-packages/urllib3/connectionpool.py:1045: InsecureRequestWarning: Unverified HTTPS request is being made to host '192.0.2.100'. Adding certificate verification is strongly advised.
 See: https://urllib3.readthedocs.io/en/1.26.x/advanced-usage.html#ssl-warnings
  warnings.warn(
{'results': []}
まとめ
今回NSX-TのOpenAPIからPythonのSDKを自動生成して、SDK経由でAPIを実行してみました。requestsで実行するのに比べ、データの型などがあらかじめSDKで用意出来るので、コーディングが楽になると思いました。またOpenAPIからswagger-codegenで様々なプログラミング言語のSDKが用意出来るので、とても楽だなと思いました。ほかのVMware製品でも例えばvSphere, VMware HCXなど様々な製品でもOpenAPIが提供されていると思うので、この記事の手順を元に様々な製品、プログラミン言語でも利用できると思います。
一方でPythonのSDKで一部修正しないと動作しなかったため、この部分は注意が必要かなと思います。恐らく元のOpenAPIが何かまずいんじゃないかなと思うのですが…(過去NSX-vのnsxramlでも同様のことは経験したことがあったので)
参考になれば幸いです。